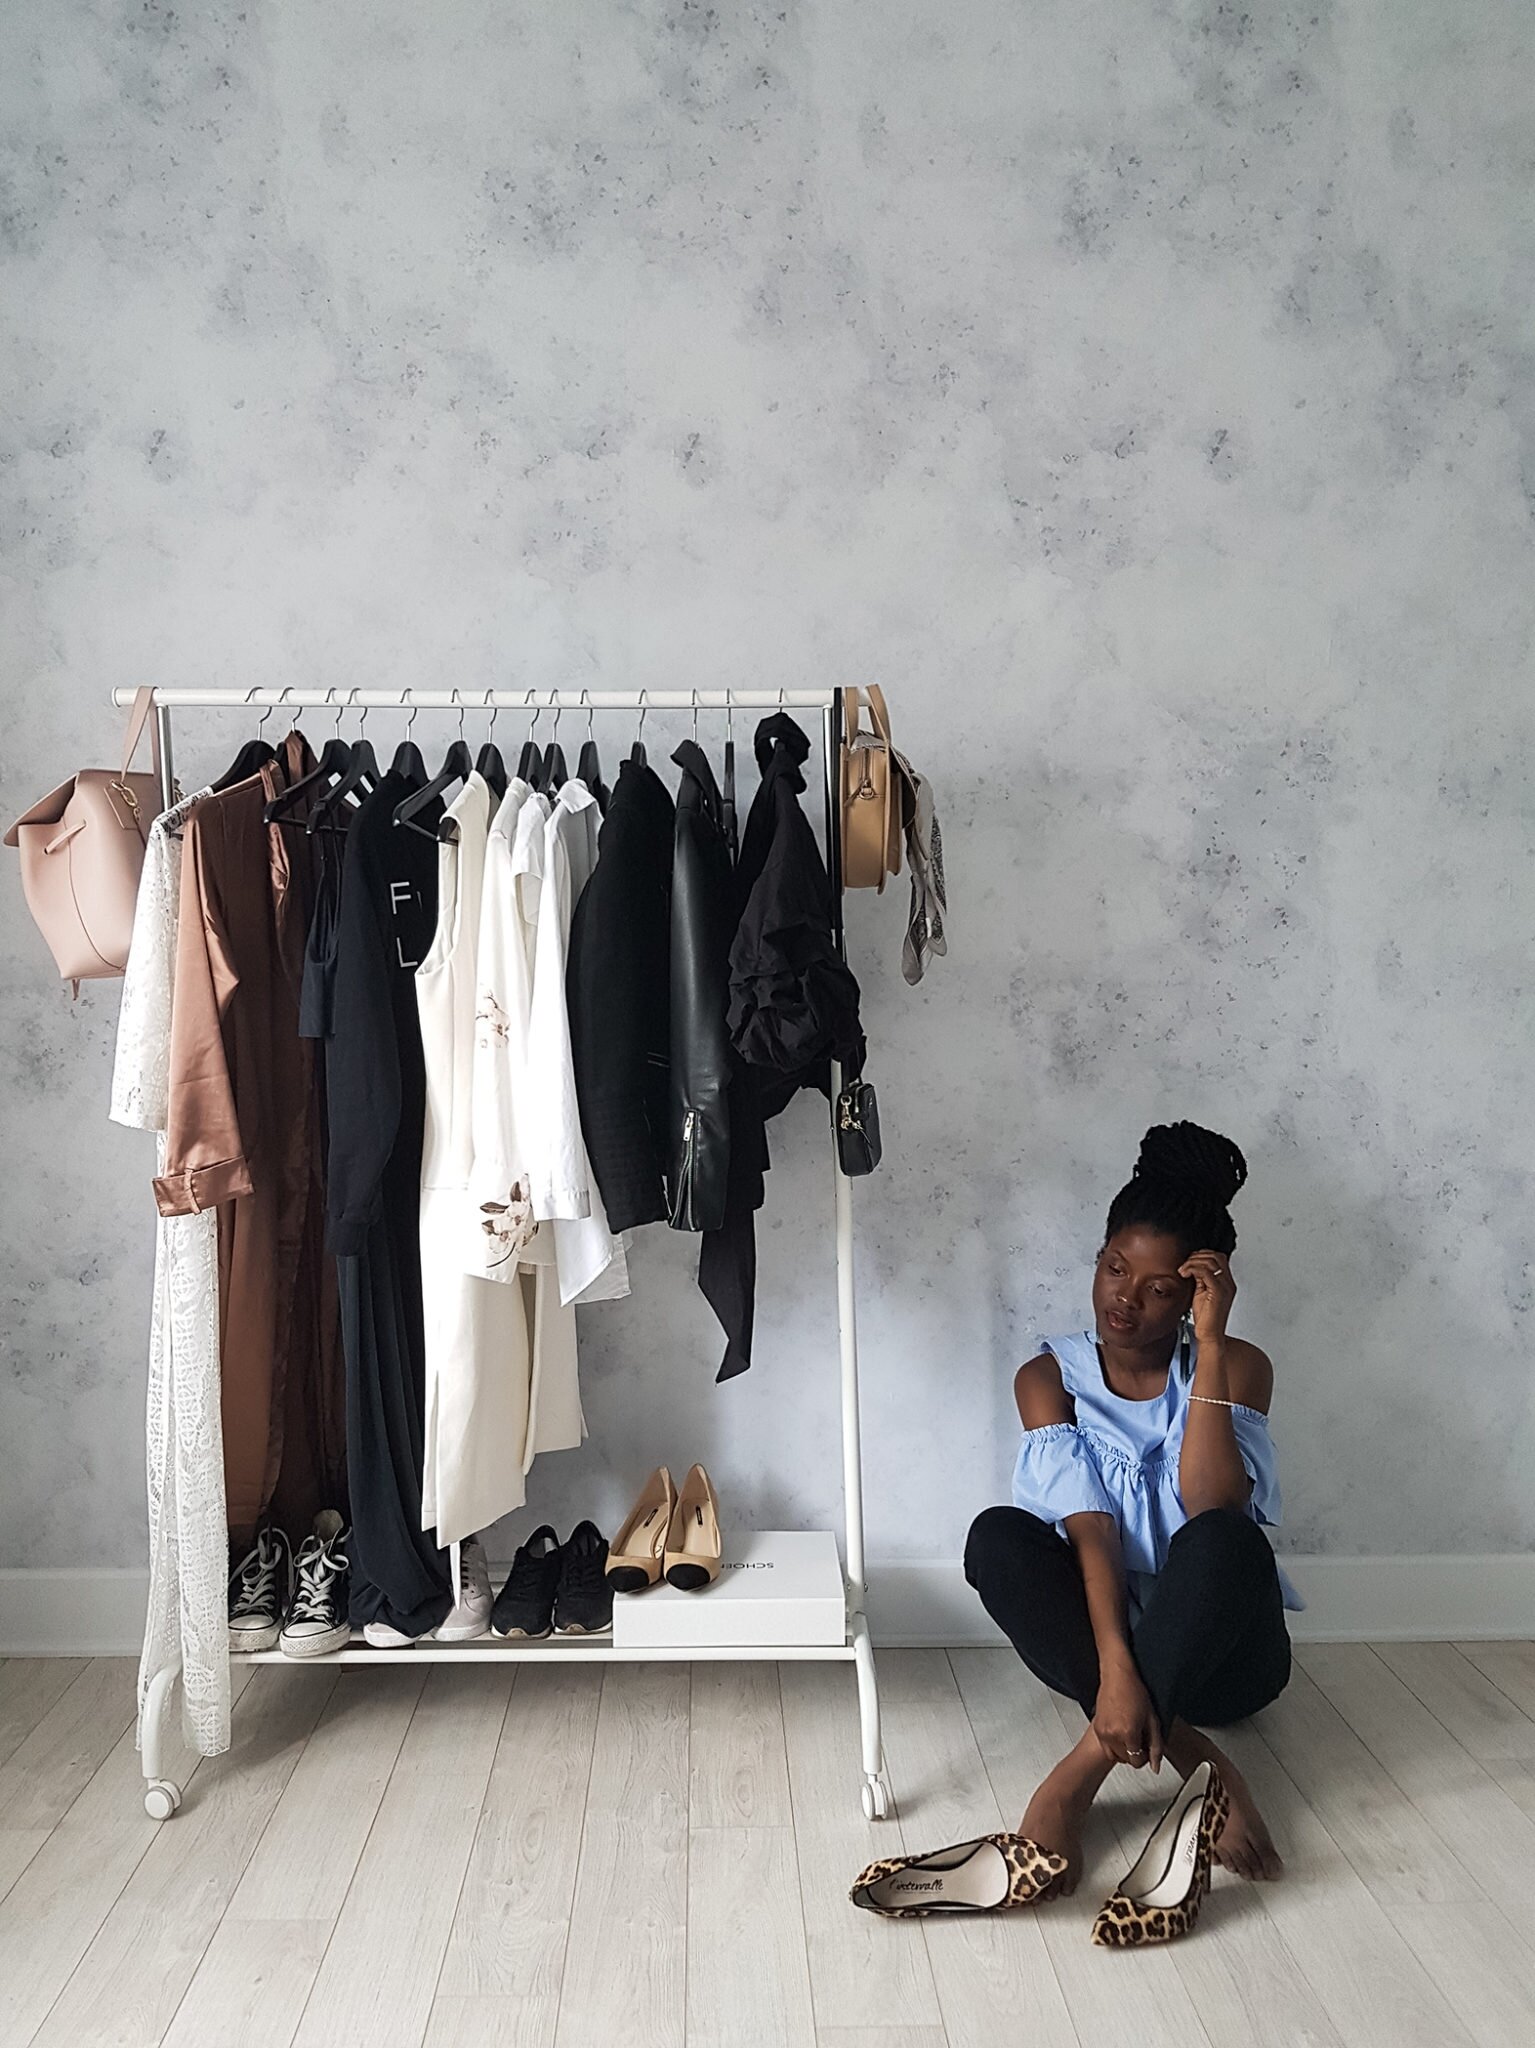
BEDROOM MAKEOVER | INSTALLING OUR WALL MURAL + A CHIC IKEA HACK
Oh boy! The least we can say is we are enjoying every minute of our bedroom makeover. A few months ago my husband and I ( ok mostly I ) decided we needed to change things up a little bit in our condo starting with the bedroom.We spend a lot of time there obviously sleeping but also talking, working, having fun with our son. Therefore, we wanted to turn it into a safe haven, a room we would go to for relaxation etc ... We thought it would be so great to install a wallpaper on the wall behind the bed, but we did not want just any ordinary wallpaper ... enters Pixers. I came across Pixers on Instagram and could not stop looking at the various options they offer.What we love about what you can find at Pixers
Installation is very easy when you have the right materials with you ( they also provide a manual with full details on how to install and a few tools you'd need ). Our budget is not huge so we wanted to install things ourselves instead of having to hire professionals. For that reason the easiness of installation played a big role in our decision to work with Pixers.
It's the best and quickest way to personalize any room. As you can see we went with marble designs, but the cool thing about all this is if we ever get tired, we can easily remove the Pixerstick wall mural and replace it with another one.
They promote only eco-friendly technology and recommendonly eco-friendly materials, shipping is free and and there's a 365 days money back guarantee policy. What's not to love!
THE PROCESS
Our contact at Pixers, Aleksandra, was a charm to work with. Step one was to provide the measurements and photos of the wall + the Ikea chest of drawers ( I actually sent her the link to the chest on Ikea's website) and our initial wall paper patterns. Then, the design team came back with visualizations for us. I must say, this is the best thing ever. Given all the options available, it made it so much easier for us to pick our final patterns. I should also mention that the design we picked for the wall in the bedroom had to be duplicated to cover the entire width. But as you can see, everything came together nicely.
Our final picks: THIS pattern for the drawer and THIS one for the wall.
Tips: I would recommend going a little bit over for the measurements in order to have some room when installing.
THE INSTALLATION
We started with the Ikea drawer and it was very quick. It took us 30 minutes to apply the adhesive and we could not be happier with the results. It makes it look so chic and luxe. Right up my alley ;) We received the Pixersticks already designed in the correct dimensions. We used a cutter to perfect the edges and that was it. Easy breezy.Now the wall took us a lot longer ( approximately 2,5 hours )which is totally normal. I mean, it sure is a big wall. You definitely need at least 2 persons to properly install the wall paper. We started at the top and worked our way down to the bottom. We used a triple-edge guide and our good old hands to smooth the wallpaper and make sure there were no bubbles. Just like for the drawer, we resorted to the cutter for the edges.Overall this was a great experience and we are already thinking of getting a Pixerstick self-adhesive wall paper for our son's bedroom. Now onto choosing our bed and extra furniture for the final reveal. So what do you think of the changes so far, isn't Pixers the best?! Let me know your thoughts in the comments.
DETAILS
Ikea 3- Drawer chest + Pixers pattern
Big wall Pixerstick
Bouclair cement plate
Ikea basket
My Only Sunshine Dual prints
Suetables Rings
Jewelry box
Fragrances: Chanel Eau Tendre , Lelabo Fragrances Santal 23 , Dynamite
** This post is sponsored by Pixers, the views and opinions expressed in this blog are purely my own.


